Wind Chimes
  Wimd Chime InstructionsClick image for a more readable and printable image. |
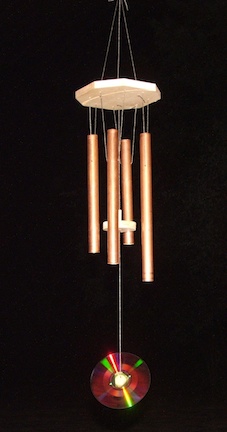
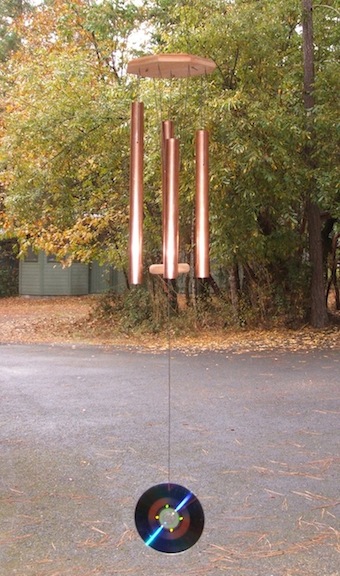
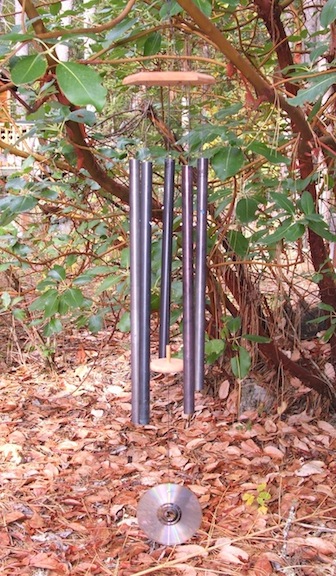
This is a page of instructions for building the wind chimes. I was asked to help with a workshop for children at the Pacifica Winter Arts Festival, so the first step for me was to learn how to build a wind chime. After some research and experimentation, this little wind chime was the one we would use. The plan was to put together the wind chimes as kits so the children could build them at the festival. The wood parts were prepared and the copper tubes cut to length, drilled and tuned to the four notes (the C7 chord) that I chose for practical and personal reasons. The instruction sheet goes with the kit.
|
 Wimd Chime Oscilloscope Trace |
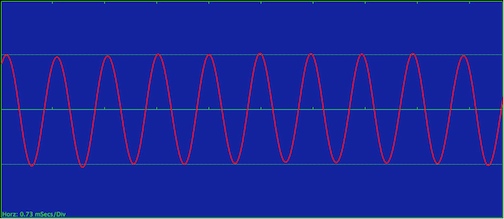
Here is an oscilloscope trace of a wind chime tube as I was testing the frequencies for the musical notes. The trace makes a nice sine wave and the time interval shows .73 ms (milliseconds) per division. Frequency equals 1 divided by the time in seconds so this tube is sounding at 1,396 Hz, almost right on for the F note I'm looking for. This tube is in a set of four. The notes the chime tubes make are F, A, C and Eb for a F7 chord. |
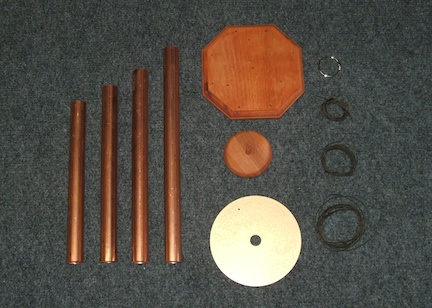 Wimd Chime Kit Parts |
This picture is of the windchime kit, showing all the parts, ready to be assembled. |
Here is the windchime assembly rack at the Pacifica Winter Arts Festival. We were able to build two windchimes at one time. First the support plate was strung and suspended from the rack at a good workable height. The children then tied the remaining parts; chime tubes, striker and wind catcher to the plate. They learned to tie some new knots and to tie the parts in just the right place to make an attractive and musical windchime. |
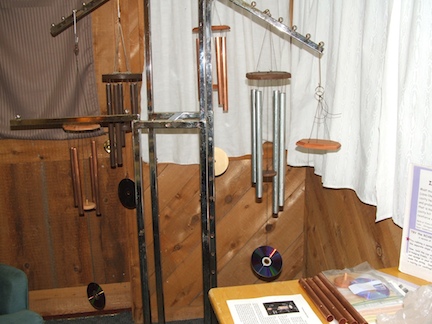 Wimd Chime Assembly Rack |
HTML validated
-
Lets iCab
![]() smile
smile

