Model Airplanes
RC and Rubber Powered, Foam and Balsa
Click  for P-51 Mustang,
  for Cessna 150,
  for Cessna 182,
 for David's Champ,
 for Thrust Tests.
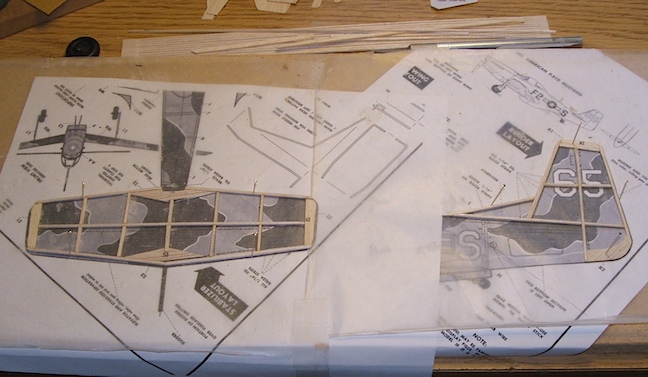
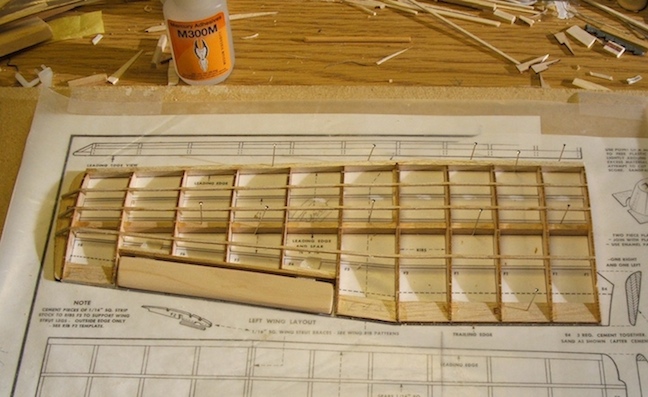
 Here the left wing and the fuselage are shown framed.The instruction sheet can be seen at the upper left. I have made copies of the areas I'll work on so as not to mess up the original with pin hopes, glue and razor cuts. |
 The tail section, (tailplane and vertical stablizer) are framed.The CA glue (Mercury Adhesives M300M) works very well on the balsa. It makes a strong bond and hardly sticks to the wax paper. |
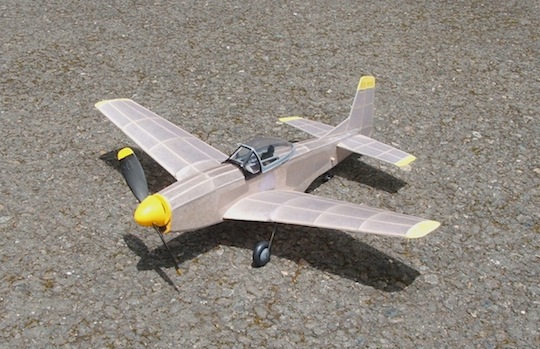
 The P-51 Mustang without any clothes.This is a temporary assembly just because I wanted to see what it would look like. The wings and tail section will be disassembled from the fuselage before covering, then the airplane will be reassembled. |
 With its cover of tissue and some points of paint.In the old-days we used airplane dope (nitrate dope) to glue the tissue to the frame and to stretch the tissue. Here I have used purple glue stick and 70% alcohol to stick the tissue to the outside edge of the frames, and a light mist of the alcohol to stretch the tissue. |
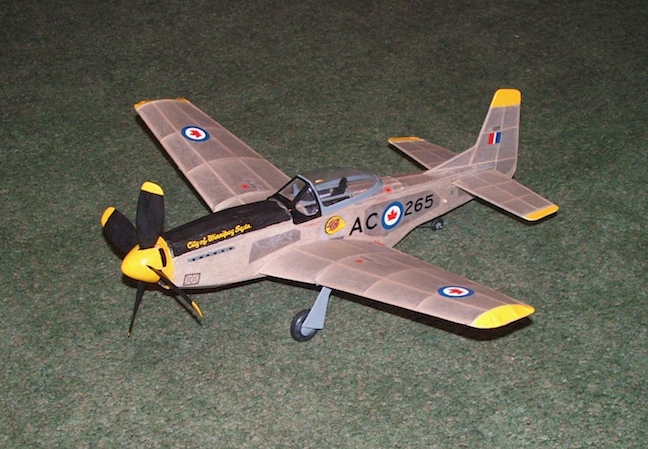 P-51 Mustang with RCAF markings.I have applied Royal Canadian Air Force markings to my P-51 as these airplanes were used for fighters and bomber escorts during World War II. They were also used by the RAF and, of course, the USAAF. This one shows the numbers for the number 402 squadron, the City of Winnepeg Sqdn. |
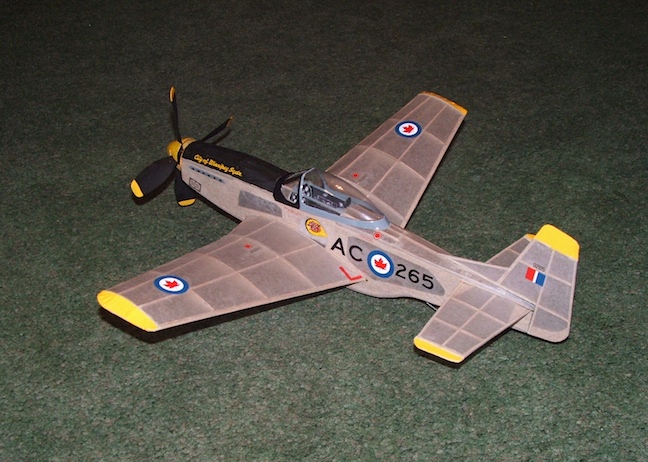 RCAF markings shown from the port side.The decals are from Leading Edge Models of Calgary Alberta. The set includes a lot of details and they apply just the way decals should. My markings/paint may not be 100% historically accurate for this aircraft. The 4 blade is made by combining two Guillow's model propellers. |
_________________________________________________ |
___________________________________________________________ |
Cessna 150
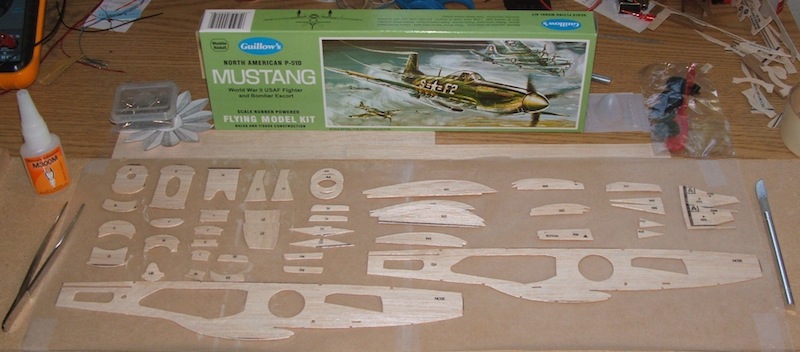
Cessna 150 (Guillow's kit #309, wingspan is 24 inches) build and conversion to RC
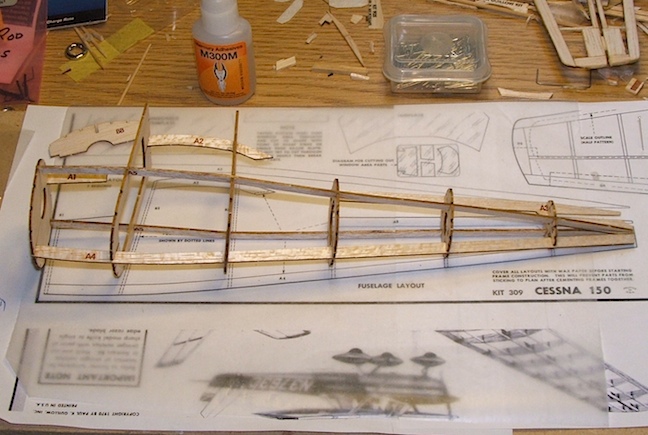 Construction of this kit is basically the same as for the P-51 Mustang. The fuselage here does not yet have the stringers attached as I'll be doing some modifications to accommodate the RC equipment. More on that later. This is just the beginning of an uncertain experiment. |
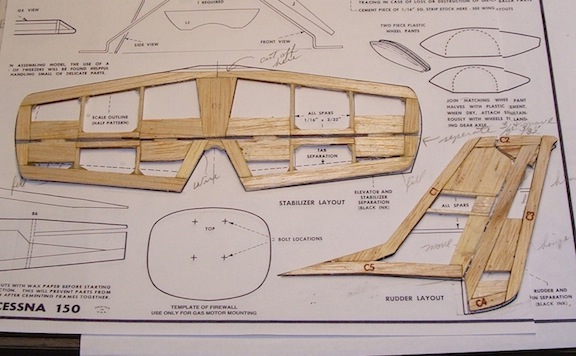 The tailplane and fin are assembled but with some changes. The elevator and rudder have been built separately and attached using CA hinges. They will operate with servos mounted in the fuselage, and pushrods. Note the extra balsa material in the areas where the hinges attach. |
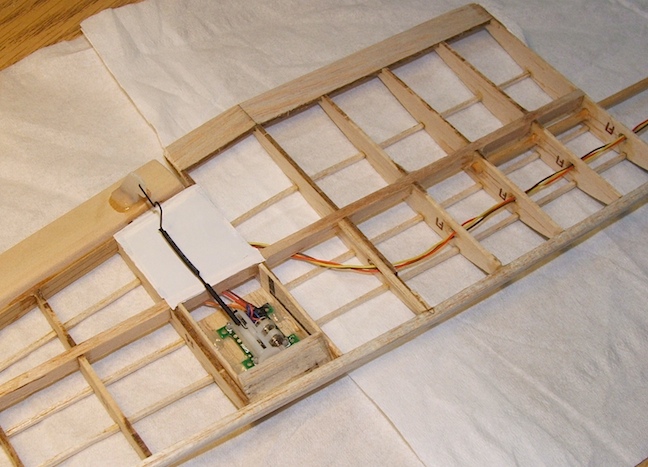
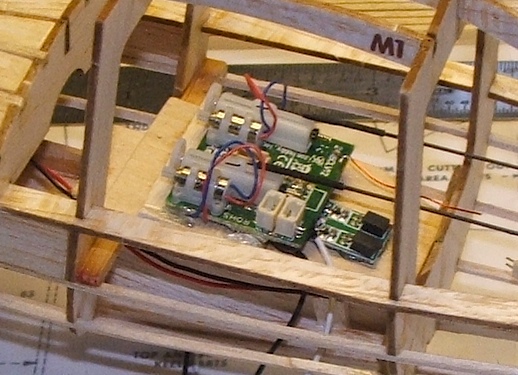 Here I have installed the receiver and the pushrods for the elevator and rudder. Next, the remaining stringers and cabin formers will be installed. The receiver is a Spektrum 6400 which includes a brushed motor ESC and two Servos. It is 6 channel so there are plug-ins for the aileron servos. |
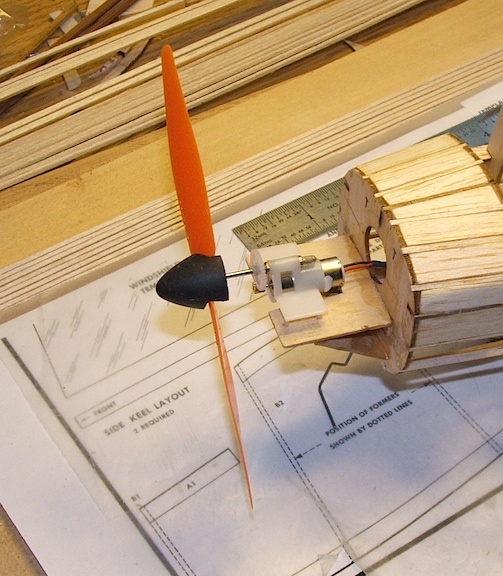 The motor for my Cessna 150 is the same as in the "Champ" RTF, a 20" wingspan airplane produced by Horizon Hobby. I have seen video of the "Champ" with floats taking off and landing on water so I think the motor should be powerful enough for my slightly heavier Cessna. We shall see. |
 The wings are all framed with the cedar ailerons attached. This picture shows the port (left) wing. I have built rib #1 at a slight angle to give a little dihedral when they are attached to the fuselage. The servo will go between ribs 6 and 7, just ahead of the main spar and connect to the aileron near the hinge. |
 This picture shows the aileron servo in the left wing. The servo is a Spektrum SPMAS2000 which is compatable with the AR6400 receiver. The connection to the control horn is made with "Champ" pushrod parts. The dowel running through the first three ribs is for extra wing support. |
 This is my first attempt at using "Microlite" plastic covering. Microlite is the light weight version of Coverite, a product made in England. So far, I like the result. It tightens up nicely under the heat of the sealing iron. I started on the easy flat surfaces. Next come the wings with their compound curves. |
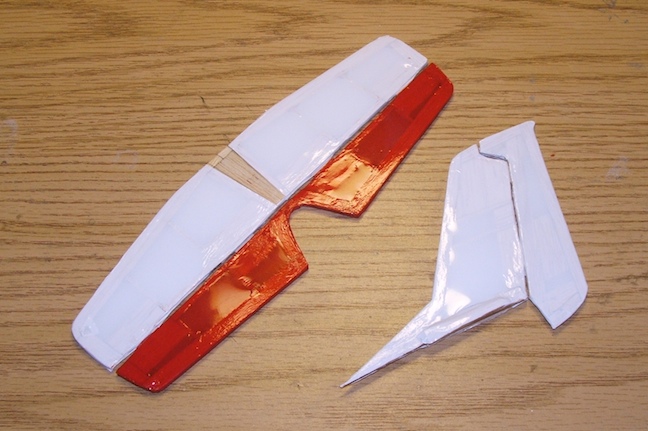
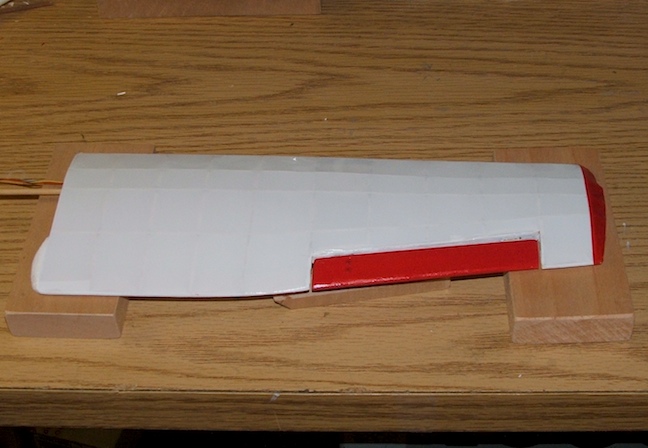 The wing covering is applied in one piece on the underside and with several pieces on top. The wingtip is red Microlite and the aileron is painted with Testors enamel. Stretching and shrinking the Microlite on the wingtip required the use of the ProTrim sealing tool. |
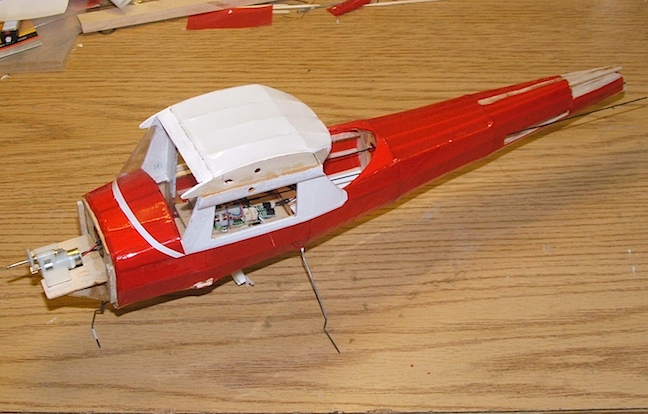 Here is the fuselage covered with its Microlite. It's getting easier now after doing the tail and wings. The heat sealing of the seams with this material is so clean that it's hard to tell where one piece of plastic ends and the next one begins. The wind screen is in. The side and rear windows will be removable for maintenance. |
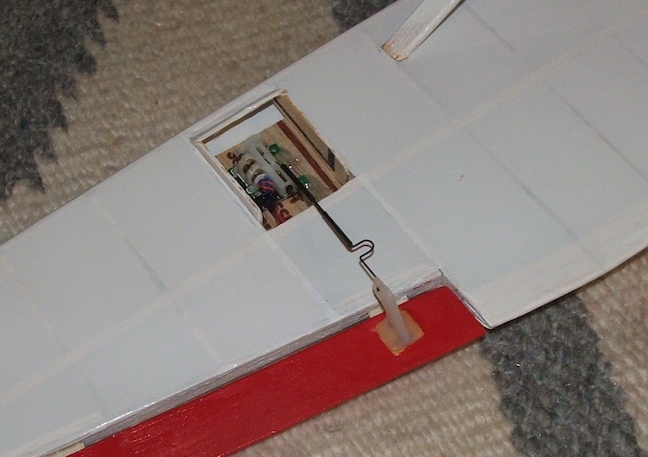 Here is the right wing aileron servo. The control rod assembly uses a small piece of carbon fiber rod with metal hooks attached with shrink tubing. The control horn is epoxied to the aileron. The small loop in the metal rod is for making fine adjustments to the position of the aileron. A cover will be placed over the servo box. | 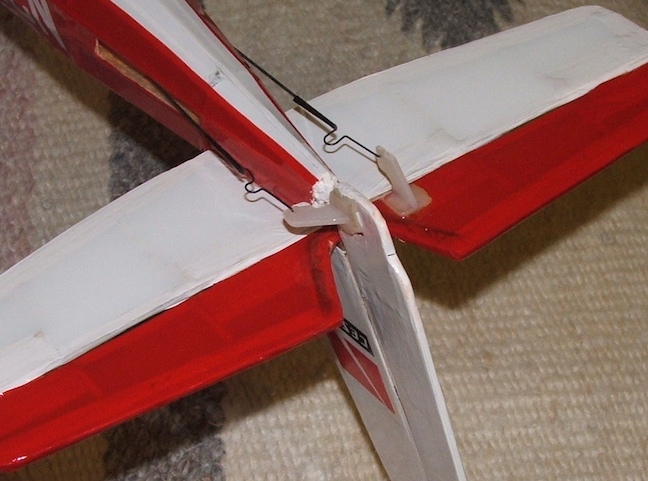 The control connections for the elevator and rudder are done the same as the "Champ RTF" airplane. The control rods run through the fuselage and connect to the servos that are integral with the RC receiver. I had to add a small extension to the bottom of the rudder to allow for the movement of the elevator. |
 Here is my completed Cessna 150, already for a test flight — if I get up the courage. |
 My C-150 would not fly—not enough power. So... it's back to the
|
_________________________________________________ |
___________________________________________________________ |
Thrust Test Results
|
I suspected that I would have trouble when I finished my C-150 and it weighed in at 3.4 oz. That's more |
Airplane/Motor Size/Weight |
Battery |
Propeller Size |
Propeller RPM | Thrust gm/oz/ % of weight |
Cessna 150 /Champ motor/3.4 oz |
1S / 150mAh |
5"x3" x2 |
6460 |
33/1.16 34% |
Cessna 150 /Champ motor/3.4 oz |
1S / 150mAh |
4.3"x3.1" x3 |
6400 |
28/1.0 30% |
Cessna 150 /Champ motor/3.4 oz |
1S / 150mAh |
5.5"x4" x2 |
5460 |
32/1.13 33% |
P-51 Mustang/Rubber /1.25 oz |
Rubber |
5"x4" x2 (100 turns) |
2400 (peak) |
10/0.35 28% |
Cessna-182 /1530Kv Brushless /21 oz |
3S / 1100mAh |
8"x6" x2 |
7980 |
390/13.8 66% |
AD-C5 Brushless Motor |
1S / 150mAh |
5"x3" x2 |
5420 |
27gm |
AP-03 Brushless Motor |
1S / 150mAh |
4.3"x3.1" x2 |
5490 |
27gm |
AP-03 Brushless Motor |
1S / 150mAh |
5"x3"x2 |
6270 |
36gm |
GPS-C03 Brushless Motor w/Gearbox |
1S / 150mAh |
5"x3"x2 |
5140 | 27gm |
AP-05 Brushless Motor w/AR6400LBL Rcv. ESC |
2S / 450mAh |
4.5"x3"x2 |
11,840 |
84gm Bingo!!! |
For Ref: the Champ (below) weighs 1.2oz with a thrust of 1.16oz = 97%
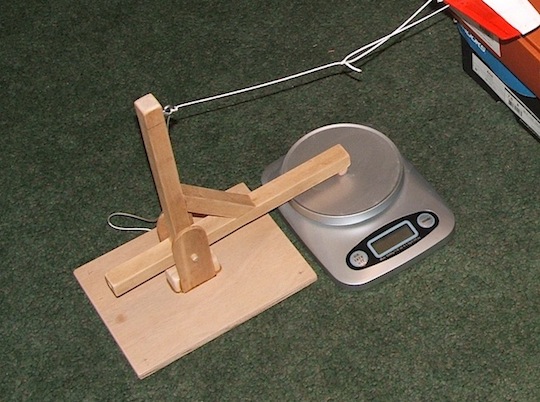 This concept for a thrust meter is not my own but this design is. The scale reads the weight of the horizontal arm. Pressing the "tare" button zeros the scale and it then reads the pull of the airplane in grams or ounces. |
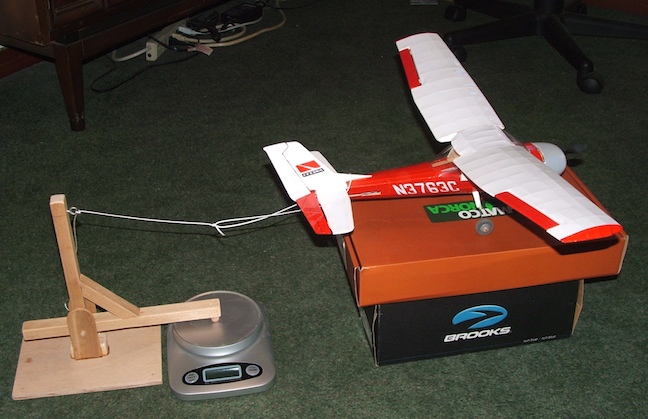 Here my C-150 is ready for a thrust test. The boxes support the airplane so it is level with the top of the vertical post. Turn on the scale, start up the airplane and read the thrust. |
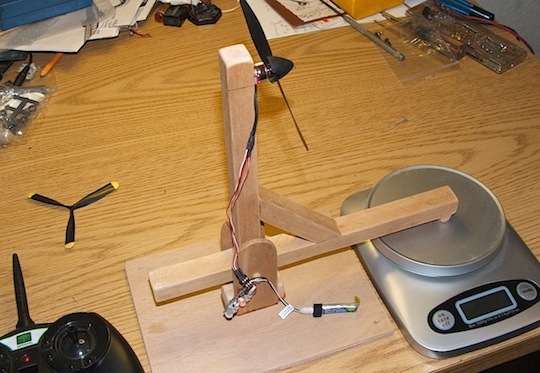 This is a test of the AD-C5 3700kV 4.6g brushless outrunner motor, fastened to the vertical post of my Thrust Lever. It is powered using a Spektrum AR6400 receiver with TGY 5A 1S ESC and a 1S 150 mAh Li-Po battery. |
 The thrust test for my C-182, as expected, showed significantly higher numbers. This test was done on the garage floor. More space was needed than I had on my small work table. |
 Here I'm testing a AEO-RC GPS-C03 brushless motor with a 5:1 gearbox. The specs say 8700Kv (36700RPM) with 56 grams of thrust. As my chart shows I only got 5140 RPM with 27g thrust. |
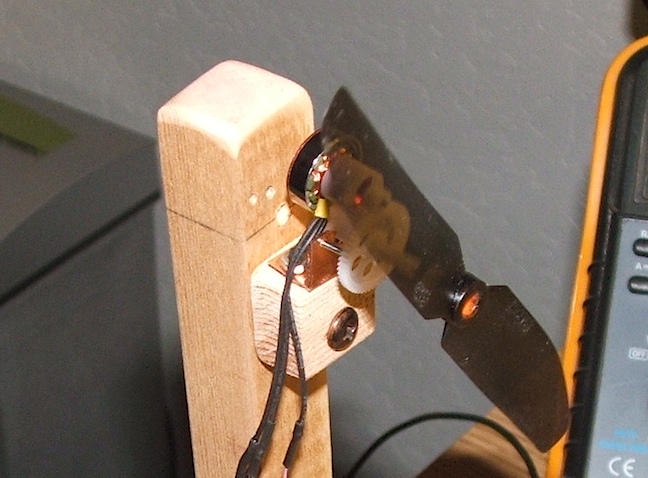 This picture shows a close-up of the GPS C03 motor with gearbox. Even though it was firmly fastened to the vertical of my thrust lever, unlike the other motors, it generated a lot of vibration. |
_________________________________________________ |
___________________________________________________________ |
Cessna 182
Cessna 182 (Skyartec Cessna 182 RTF, Wingspan 38-1/2" (978mm))
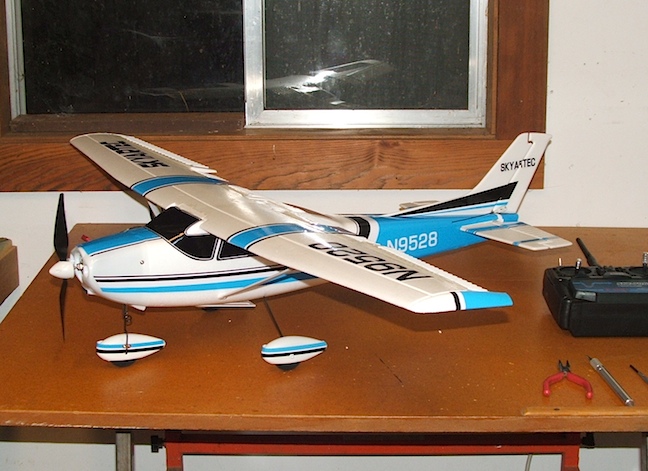 Here is my Cessna 182, assembly complete — ready for testing and testing. |
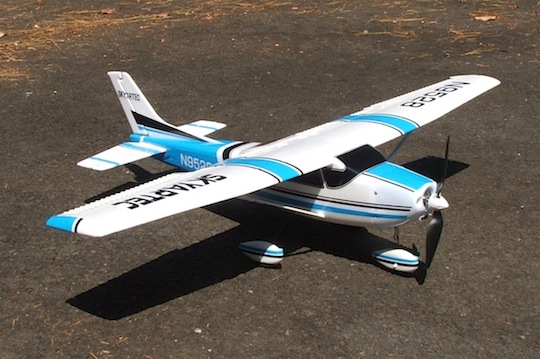 Out on the driveway. This is where I'll try some taxiing, and maybe even a take-off. |
|
Well, not quite ready to fly (RTF) but it came with all the parts and electronics needed to complete the airplane. The tail section needed assembly and the landing gear and mainplane (wing) installed. Some adjustment on the flight controls was also required and some areas of the blue decals to be re-stuck down to the foam. All the controls are very responsive and the motor has lots of power. The taxiing and steering went well. She wanted to take off but... not just yet. |
_________________________________________________ |
___________________________________________________________ |
Champ RTF
The Horizon Hobbies Champ RTF, Wingspan 19-1/2" (495mm)
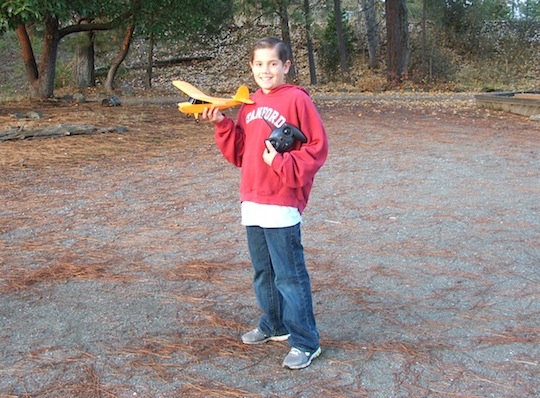 David with his Champ and ready for some flying. This is what started it all. |
 Flying in a clear-blue sky at Pacifica, garden in the Siskiyous, Oregon |
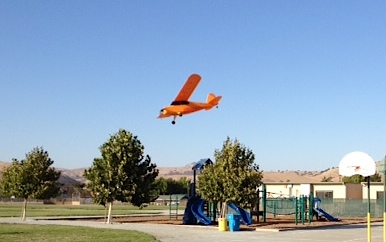 Here is the Champ flying in the field at David's school yard. This one is a real winner and it has seen a lot of flying time already. |